


As a software developer, one of the tools you will get to use almost every day of your work life is Git. Git is one of the top vital work tool developers must get themselves acquainted with as they start their software development journey. When I started my developer journey, I spent weeks asking questions like what is Git? What is version control? Why do I need to use Git? and it took me months to understand and finally be able to answer these questions. so it is okay to ask.
I will start by explaining what Git is, the problem it tries to solve and I will then take a dive into the basic concepts of Git, just enough concepts to get you started and help you make notable contributions to your team.
WHAT EXACTLY IS GIT?
Git is a version control system. A version control system is a category of software tools that help a software team manage changes to source code over time. Git as a VCS helps track the work and progress of each member of a team. With Git, you can see the work other people have done on a codebase, you can modify and can also add your part. If you intend to ever work with a team of software engineers, you are most likely going to use Git.
The Basic Concept of Git you should know
- Git init
Starting a new project or intending to work on a project someone else has worked on, you need to use git init for the former and git clone for the latter. How do you go about this?
Follow the steps below to use Git init;
     Step 1: Create a folder in your computer document or desktop or any preferable location where you can easily access the folder when you need it.

     Step 2: Open the folder with a code-editor for example Visual studio code.

     Step 3: Open your terminal and in your terminal, enter the command “git init”,
These steps listed above automatically create a Git file that is invisible.
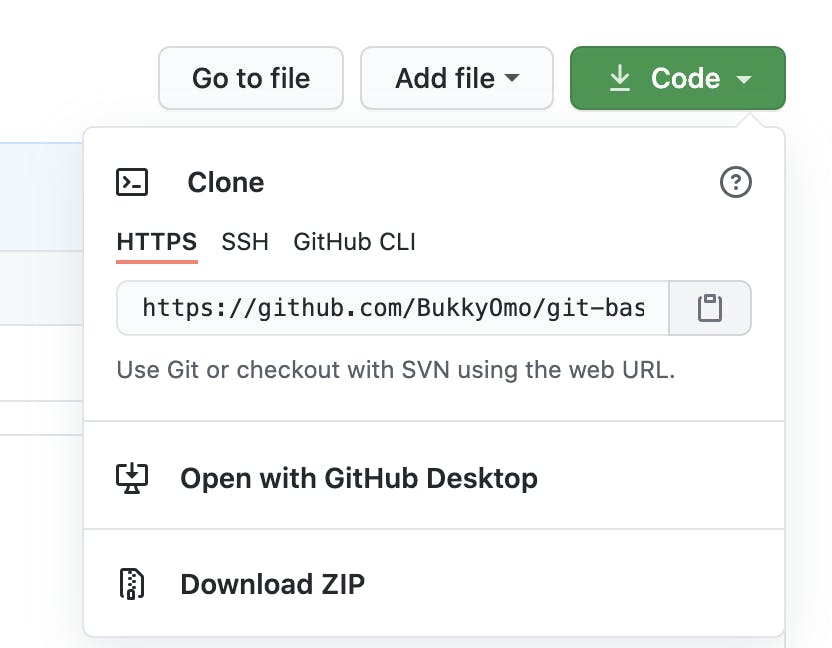
- Git Clone
Copy the URL you get after creating a new repository on your Github and paste in your terminal as shown below
After any of the steps above have been done by either cloning or initializing, that means you have a git initialized project on your application. How do you push your work so others in the team would see? This takes us to the next step.
- Git add
If you want to stage all the changes made in your project, you use the git add command as shown below
git add – a or git add .
- Git commit
After you have staged all your changes, the next step is to commit the staged changes using the syntax.
git commit – m “<enter a commit message>”
Note that, the message should be a description of the message you try to pass across to other developers on your team or for your future self when you need to go back to that commit. Since git is a VCS, you can always go back and look through your history of commits, and having a clear and descriptive commit message is very crucial.
- Git status
To be sure of all files you have staged, un-staged, and untracked files, use git status.
git status
- Git log
This helps to log or display the entire commit history. This is important when you want to revert back to the work that was done on a previous commit
git log
- Git branch
This command lists out all the branches in your repository (project). There are a lot of options with the git branch syntax which include
Git branch --list
Git branch --d
Git branch -m
Git branch -a and a list of others
- Git checkout
This command creates and checks out a new branch named . If you want to check out an existing file, drop the –b flag.
git checkout -b 'feat-implement-user-sends-a-verification-request'
- Git pull
This fetches the specified remote’s copy of the current branch and instantly merges it into the local copy.
git pull
- Git push
This command pushes your branch to remote, along with necessary commit objects. A new named branch is automatically created remotely if it doesn't already exist.
git push --set-upstream origin bg-fix-avatar-url-naming